How to Stage Your Home in Castle Pines Village
January 15, 2026
January 15, 2026
Thinking about listing your Castle Pines Village home and wondering how to make those mountain views and outdoor spaces do the talking? Preparing an estate-scale property inside a gated community can feel overwhelming, especially when buyers expect flawless presentation. In this guide, you will learn how to stage each key room, plan a photo-first marketing approach, and handle HOA logistics so your home shows at its best. Let’s dive in.
Luxury buyers in Castle Pines Village value privacy, security, and the Colorado lifestyle. They look for big views, high-quality finishes, and outdoor living that feels like an extension of the home. They also expect low visible maintenance on large lots and a move-in ready feel.
Your photos and video should make the home’s flow and sightlines obvious. Think about how a buyer will understand the scale, how rooms connect, and where the views are from the first few images.
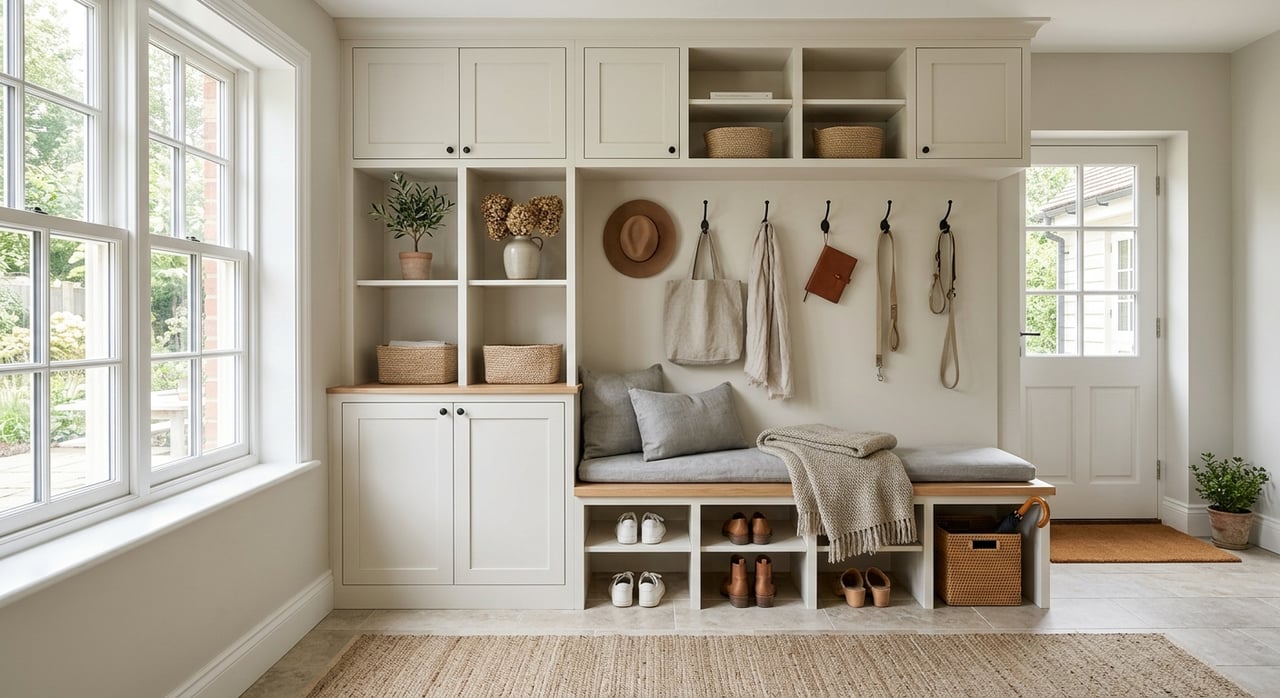
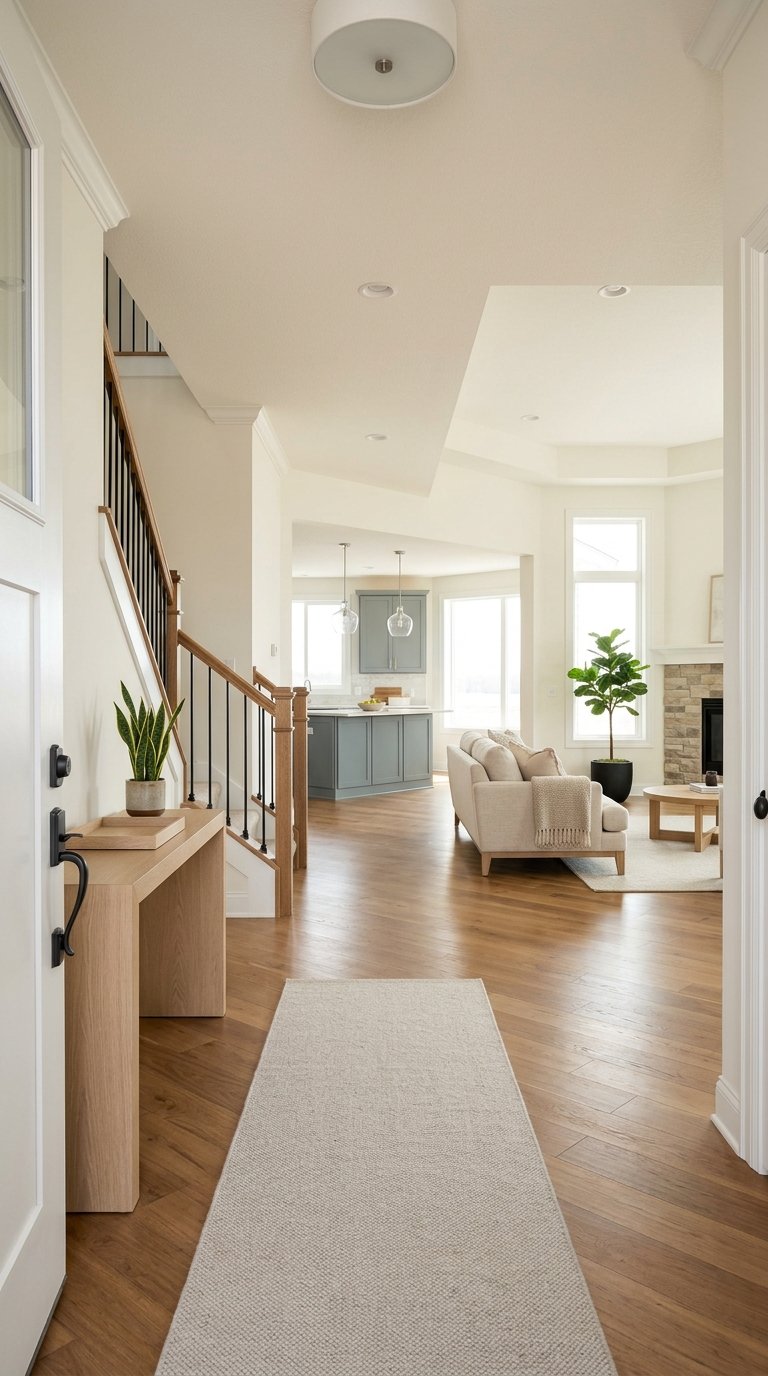
Set a sense of arrival with statement lighting and a substantial console or bench that fits the ceiling height. Use a mirror or art to reflect light and hint at the great room beyond. Keep the exterior entry seasonal and tidy with clean hardware and a fresh doormat.
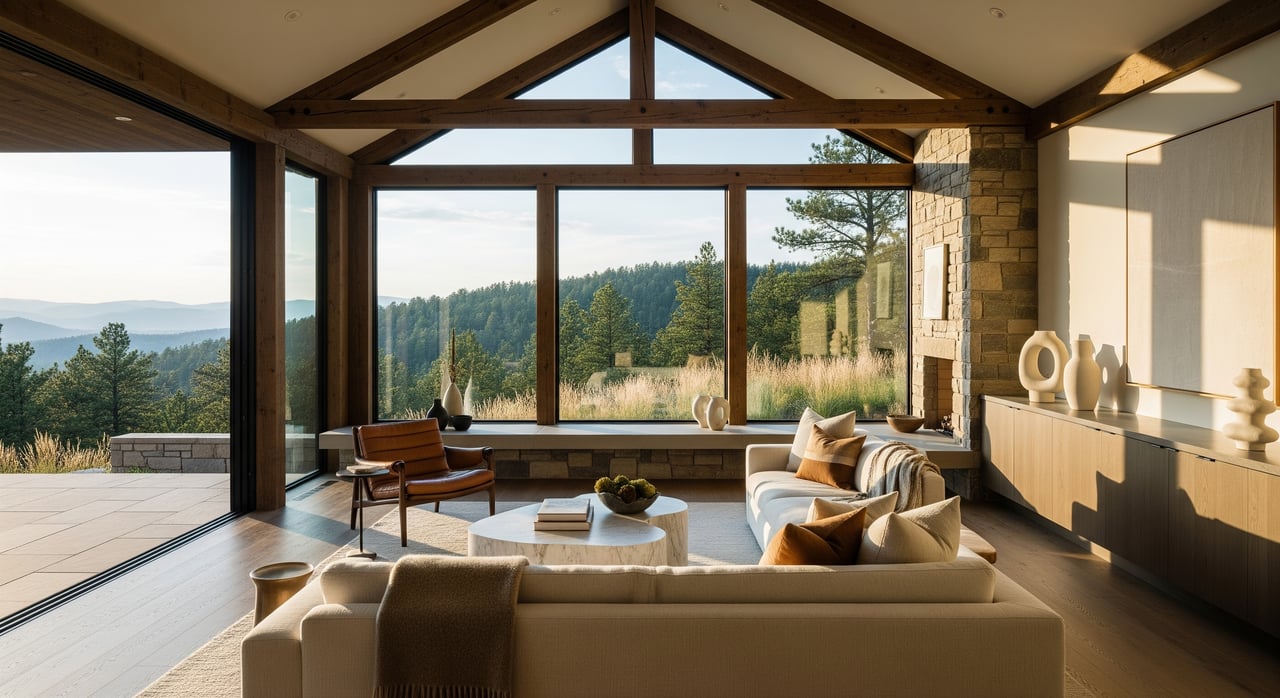
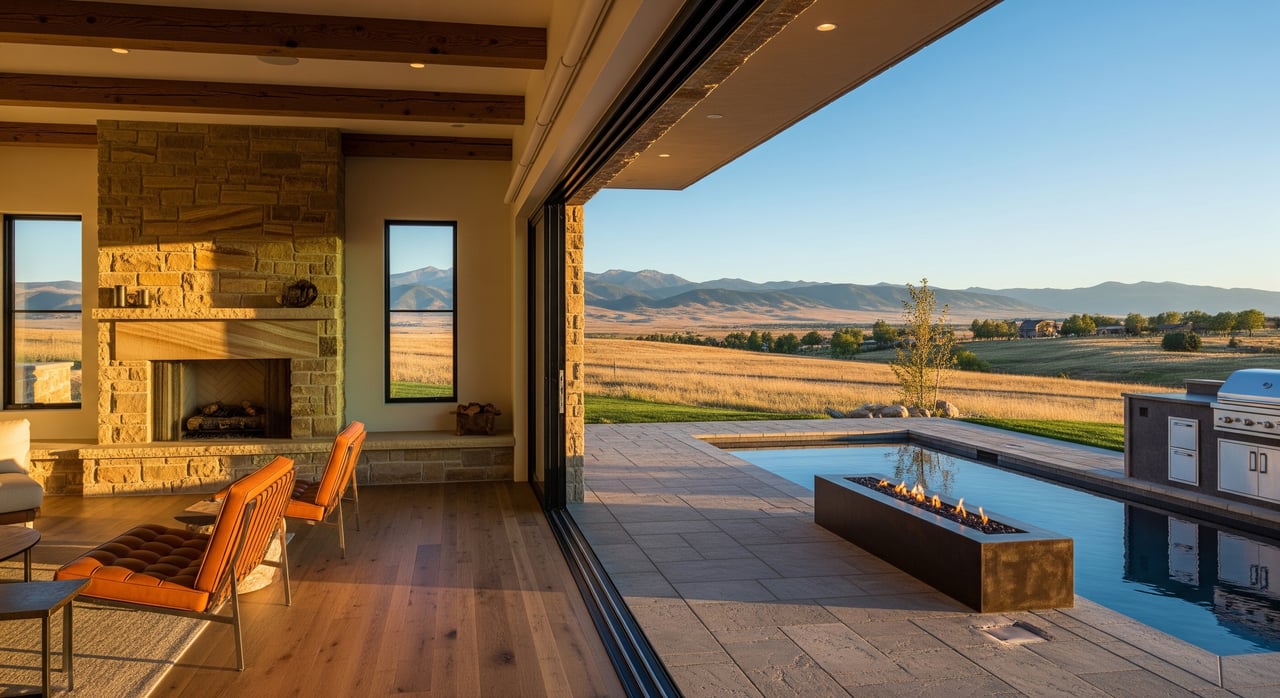
Showcase the fireplace, built-ins, and views as focal points. Use oversized rugs to anchor seating and consider multiple conversation zones if the room is expansive. Keep mantel styling minimal and conceal electronics where possible.
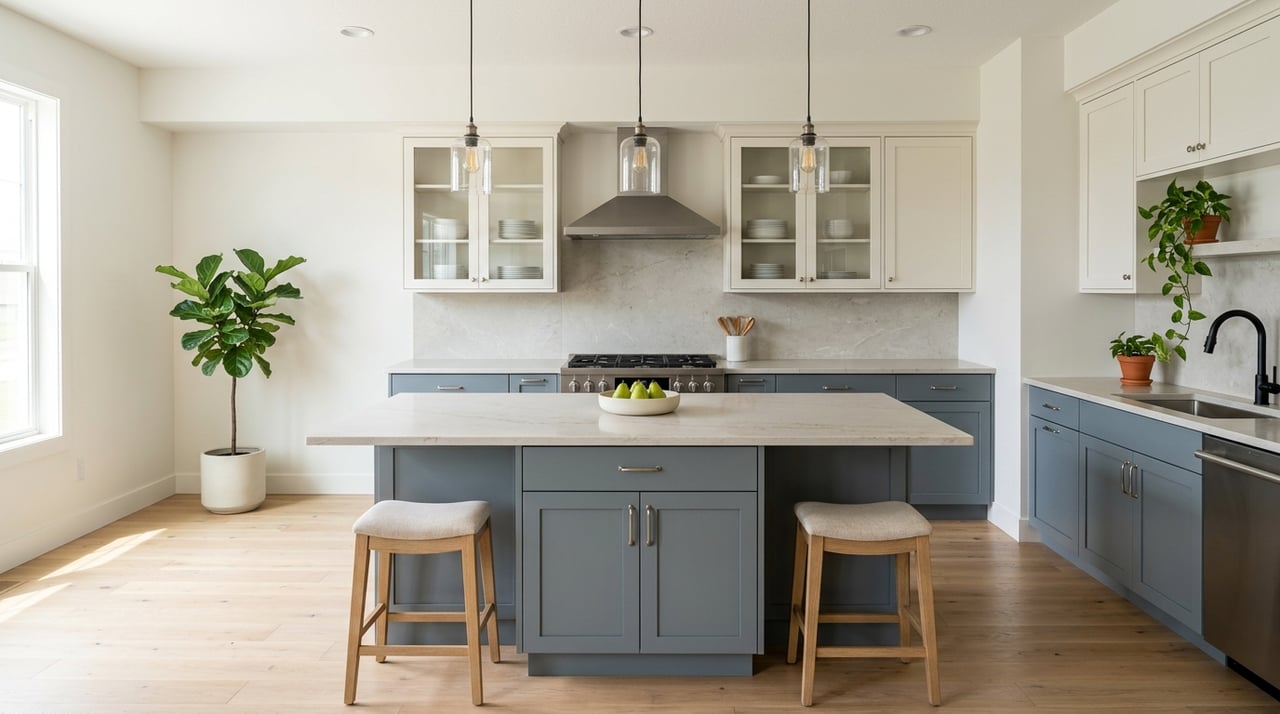
Highlight quality and scale while keeping it functional. Clear counters of clutter except for a few elevated accessories like a vase or a bowl of citrus. Stage the island with barstools and consider a simple place setting to suggest casual entertaining. Turn on all fixtures and match bulb color temperature for a consistent look.
Communicate how the space hosts a dinner. Use a table sized to the room, a restrained centerpiece, and proper chair placement. Keep surfaces free of family items and set dimmers to a warm level for photos.
Create a serene retreat with a king bed, layered neutral linens, and matching lamps on both sides. Add a seating area if space allows and orient it toward a view or fireplace. Use blackout drapery that reads luxurious, but open it for natural light in photos.
Channel a spa vibe with spotless glass and mirrors, fresh white towels, and a small plant or bowl on the vanity. Emphasize freestanding tubs and large showers. Keep personal products out of sight.
Present a clean, tech-ready workspace with one well-styled desk, a comfortable chair, and built-ins staged with a balanced mix of books and decor. Hide cables and printers.
Keep it neutral and functional. Use twin or full beds with simple bedding and avoid themed decor. The goal is to help buyers imagine flexible use.
Stage each area to one clear use. For a theater, set up a defined seating layout. At a bar, add stools and minimal glassware. In a gym, keep towels neatly folded and equipment arranged. Maintain warm, adequate lighting in lower levels.
Show storage and order. Use labeled baskets and tidy shelving. If possible, keep vehicles out of photos and hide tools so the garage reads as clean parking and storage.
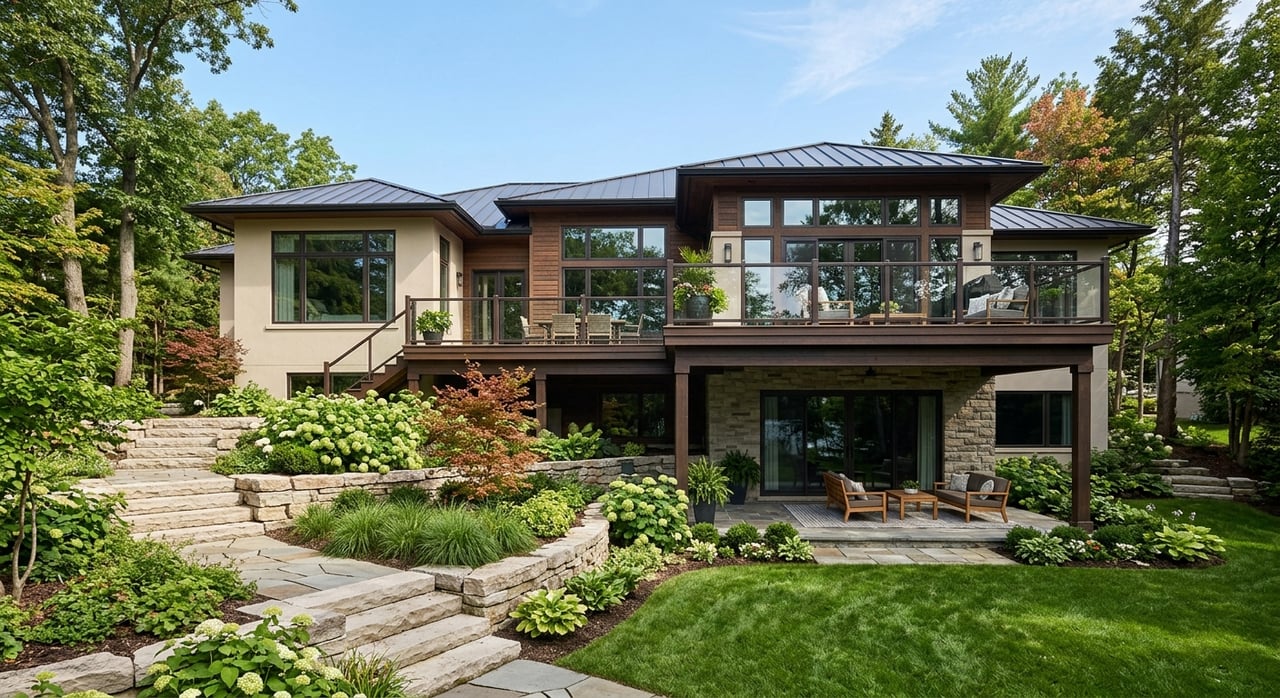
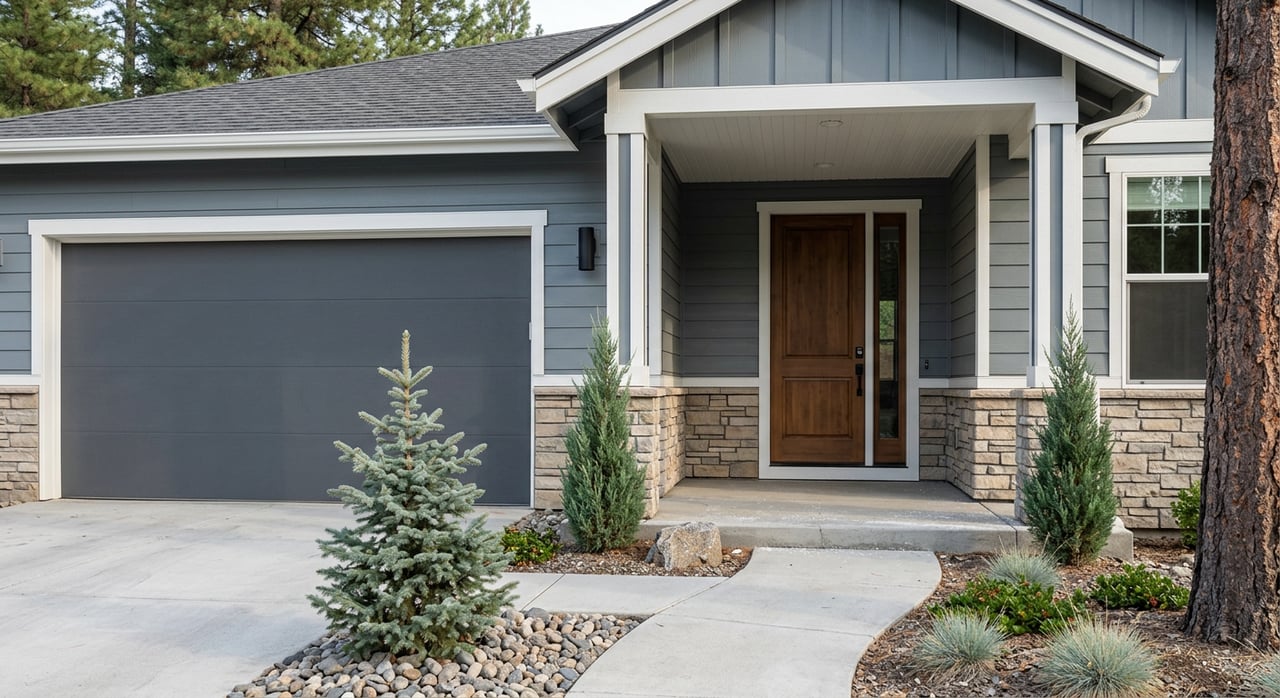
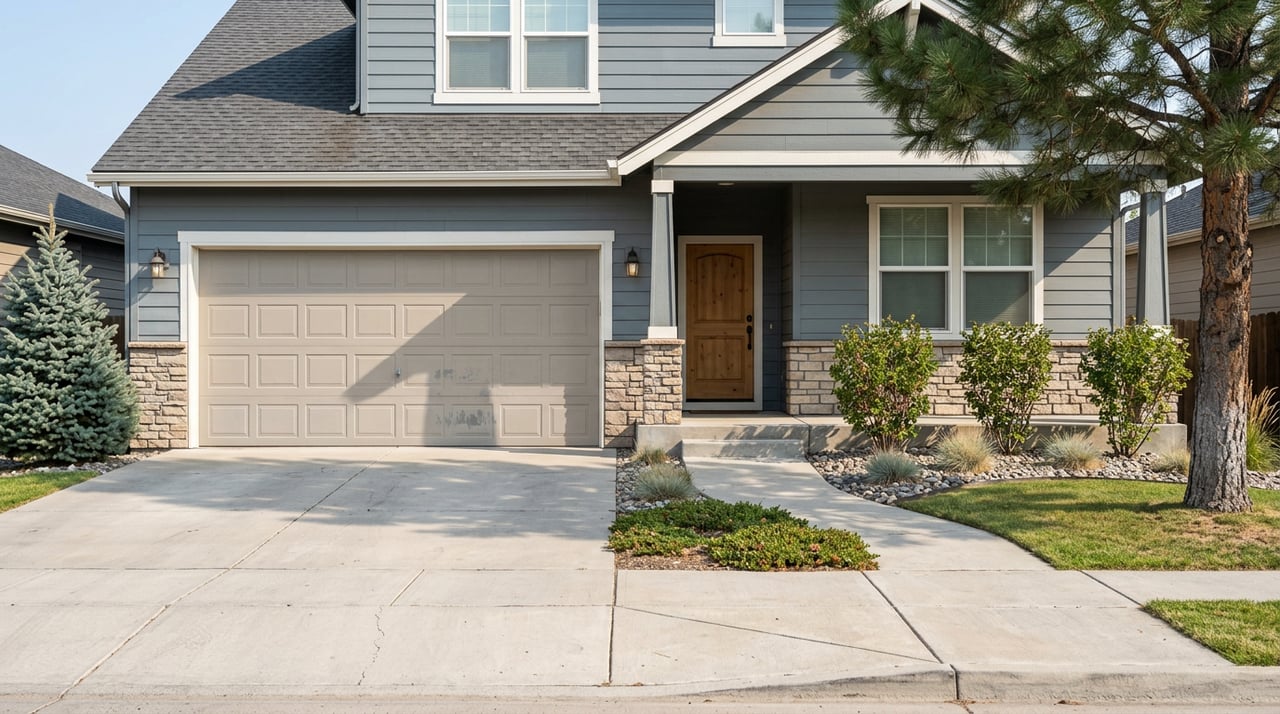
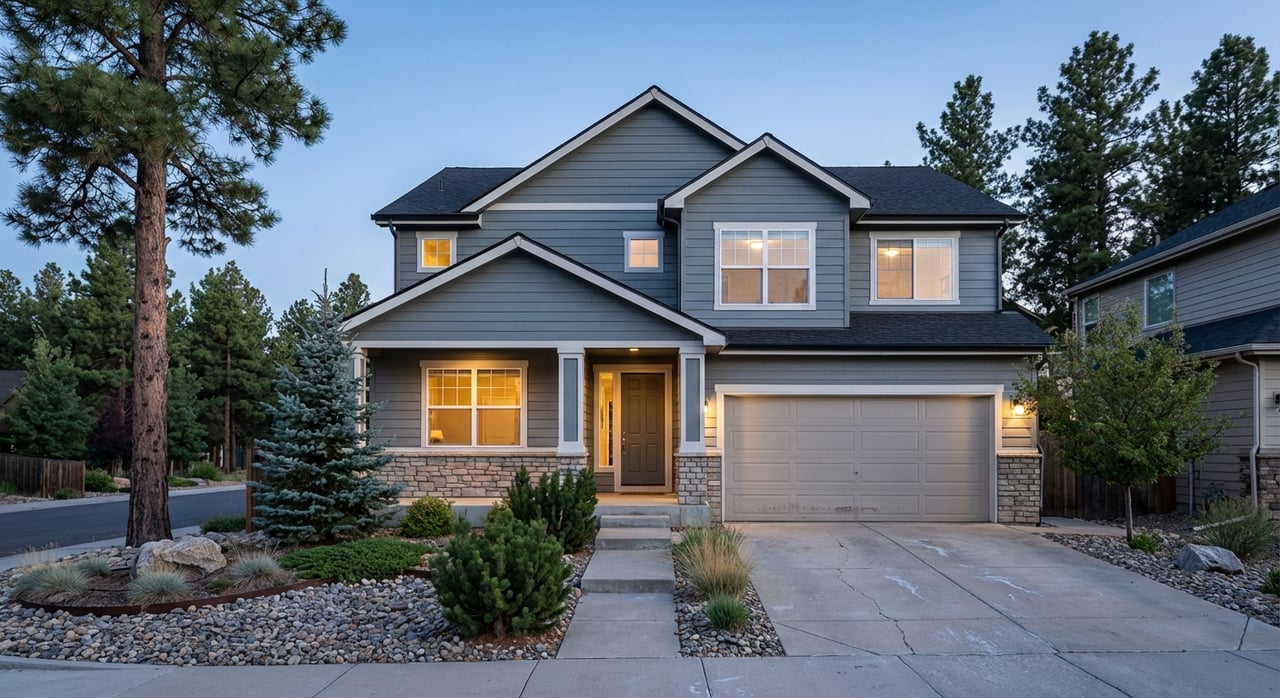
Curb appeal and outdoor rooms are critical in this market. Trim plants, clean the driveway, refresh front door paint or hardware, and make sure address numbers are visible. Stage patios and decks with seating and dining areas, highlight fireplaces or firepits, and store pool or maintenance equipment out of sight. In winter, clear snow and ice and style a cozy setup. In summer, keep landscaping in peak condition and windows spotless to maximize views.
Luxury buyers judge quickly by imagery, so plan your visuals as carefully as your staging.
3D tours and accurate floor plans help remote and relocation buyers understand layout and scale. Virtual staging can work for empty rooms, but be sure to disclose it in marketing materials and in the MLS as local rules require. Physical staging is often preferred at the high end because it better conveys quality.
Gated access and covenants add steps to your prep. Coordination keeps everything moving and reduces delays.
Confirm vendor access procedures with the HOA early. Arrange entry passes and parking for staging trucks and photography vans. Ask about rules for signage, temporary structures, and drone use on private property or common areas. Coordinate schedules so everyone clears the gate smoothly and on time.
Staging costs vary based on inventory, rental duration, and installation complexity at this scale. Ask for detailed line-item estimates that separate installation, monthly rental, delivery and pick-up, and accessory budgets. Get multiple bids and review examples of prior luxury work. Plan for seasonal needs like landscaping refreshes, snow removal, and periodic styling visits if you expect frequent showings or multiple photo sessions.
You do not have to manage all of this alone. Andrea’s hands-on staging coordination covers the plan tailored to your floor plan and buyer profile, vendor scheduling, and on-site styling oversight. She manages HOA and gate access, supervises photography day, and keeps presentation standards high through the first showings.
WrightToSell’s premium listing marketing includes professional photography and dedicated property microsites that showcase your home’s flow, views, and amenities. If you need to clear items before staging, Andrea can personally run an estate or garage sale to reduce friction and speed market readiness. For inbound buyers, concierge relocation support and community intelligence help your listing reach the right audience.
Ready to put a photo-first plan in place for your Castle Pines Village home? Request your white-glove listing consultation with Andrea Wright and get hands-on coordination from staging to closing.
ANDREA'S MANTRA ECHOES HER DEDICATION: "LUXURY ISN'T A PRICE-POINT - IT'S MY SERVICE STANDARD!"

482 West Happy Canyon Road
Castle Pines, CO 80108